
Last Updated: July 13, 2026
Want to learn painting techniques that deliver professional results? Whether you are tackling a DIY wall project or hiring our team, understanding how paint works helps you get the finish you want. At JPL Painting, we use proven painting techniques on every job across Volusia County. Our team brings a 4.6-star rating from 174 reviews to every project. This guide covers the techniques that matter most for Florida homeowners.
Brush Painting Techniques: Precision and Control
Brush work is the foundation of every painting job. Even when rollers do the heavy lifting, brush techniques handle the edges, corners, and details that make a wall look professional.
Essential brush techniques:
- Cutting in: Painting clean edges along trim, ceilings, and corners without tape. This technique requires a steady hand and a quality angled brush. Load the brush with paint, tap off excess, and press the bristles against the wall to create a clean line.
- Feathering: Lightly brushing the edge of wet paint to blend it seamlessly with the surrounding area. Feathering prevents visible lines where wet and dry paint meet.
- Cross-brushing: Applying paint in one direction, then lightly brushing across it to smooth the surface. This technique evens out thick spots and prevents drips.
Choosing the right brush:
- Nylon-polyester blend for latex paint (most Florida homes use latex)
- Natural bristle for oil-based paint (rare in residential work)
- Angled sash brush for cutting in edges and corners
- Flat brush for large flat surfaces
- 2-inch brush for trim, 3-inch for walls, 4-inch for broad surfaces
Brush technique tips:
Dip the brush only one-third into the paint. Tap both sides against the can to remove excess. Never wipe the brush on the rim. Apply paint in long, smooth strokes. Work from top to bottom. Keep a wet edge to avoid lap marks. In Florida's heat, paint dries fast, so work quickly and in small sections. Acrylic paint is the standard for interior walls. It dries fast and cleans up with water, but that fast dry time means you must maintain a wet edge at all times. If the paint dries before you blend the next section, you get visible lap lines.
Dry brush technique:
A dry brush technique uses minimal paint on the brush to create a textured, layered effect. Lightly load the brush, wipe off most of the paint, and drag it across the surface. This leaves a thin film that shows the base color underneath. Dry paint techniques work well for distressing furniture or adding character to accent walls. Some artists even use dry brush and using scratchboard tools for fine art realism on canvas, where every stroke must be precise.
Roller Painting Techniques: Fast, Even Coverage
Rollers cover large wall surfaces faster than any other tool. Proper roller technique makes the difference between a smooth, uniform finish and a patchy, uneven mess.
Roller technique basics:
- Load the roller evenly using a paint tray
- Roll it back and forth to saturate the nap
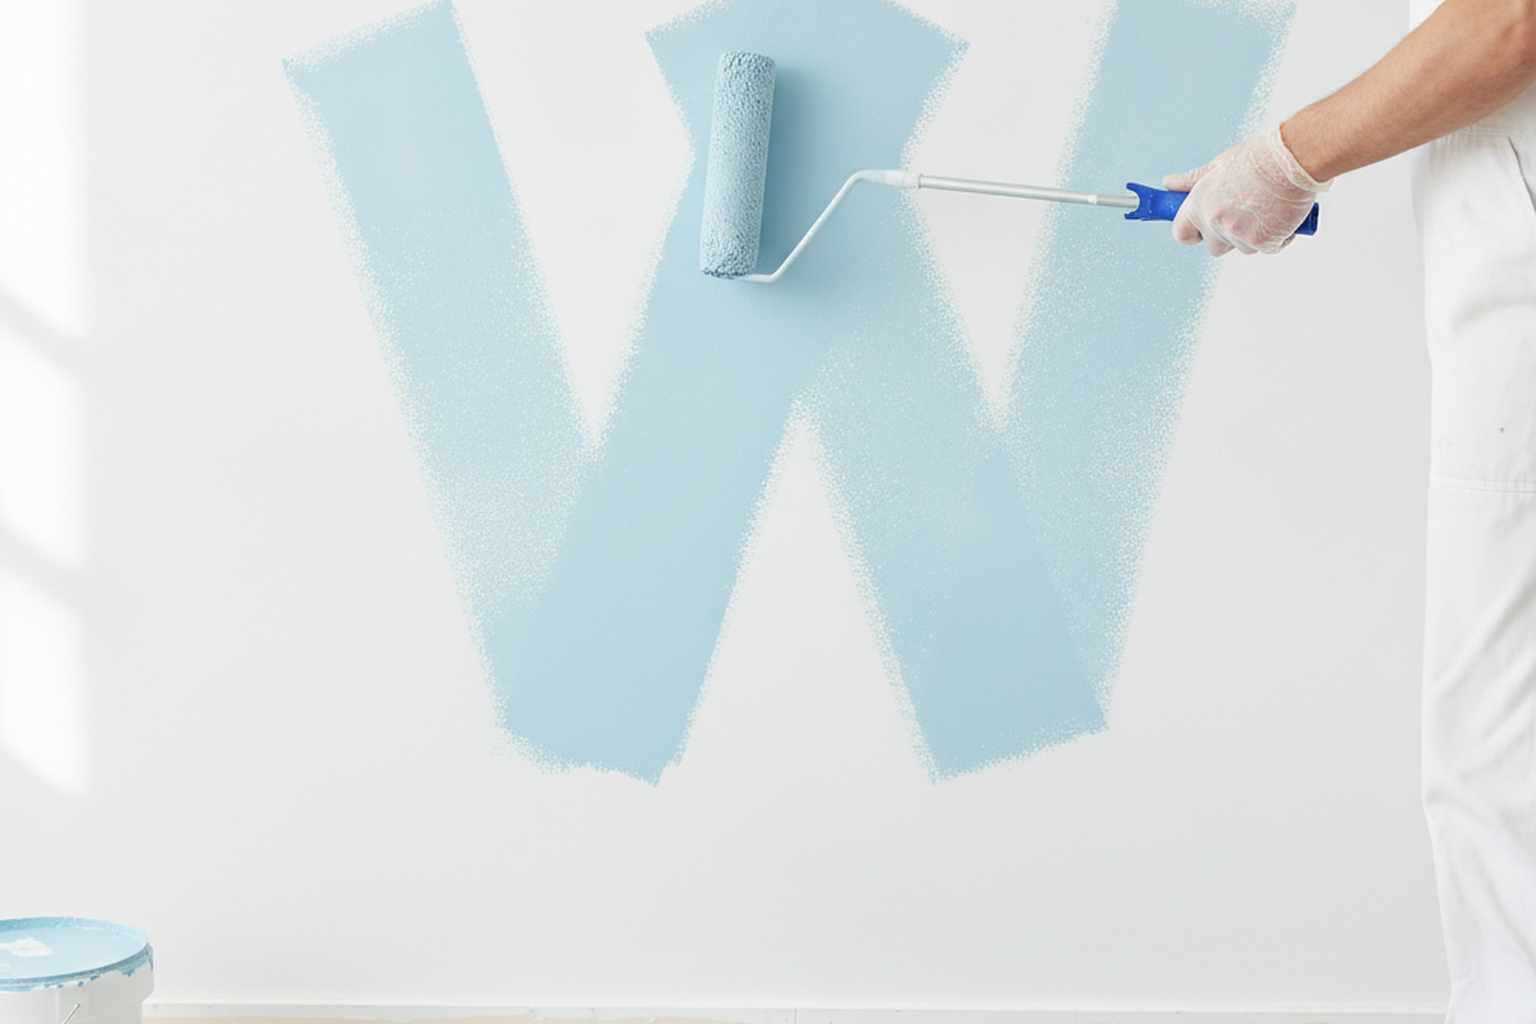
- Apply paint in a W pattern, not straight up and down
- Fill in the W with horizontal strokes
- Finish with light vertical strokes to smooth the surface
- Reload and move to the next section, blending while wet
The W technique explained:
Roll a 3-foot by 3-foot W pattern on the wall. This distributes paint evenly without creating thick lines. Fill in the W with overlapping horizontal strokes. End with light top-to-bottom strokes to eliminate roller texture. Move to the next section and blend the edges while the paint is still wet.
Roller nap selection:
- 3/8-inch nap for smooth walls (most interior walls)
- 1/2-inch nap for medium texture walls
- 3/4-inch nap for rough textures like stucco
- 1/4-inch nap for doors and cabinets
Common roller mistakes:
- Pressing too hard, which creates lines and uneven coverage
- Rolling too fast, which splatters paint
- Using a dry roller, which drags and leaves bare spots
- Not maintaining a wet edge, which causes lap marks
- Using the wrong nap length for the surface texture
Spray Painting Techniques: Smooth, Flawless Finishes
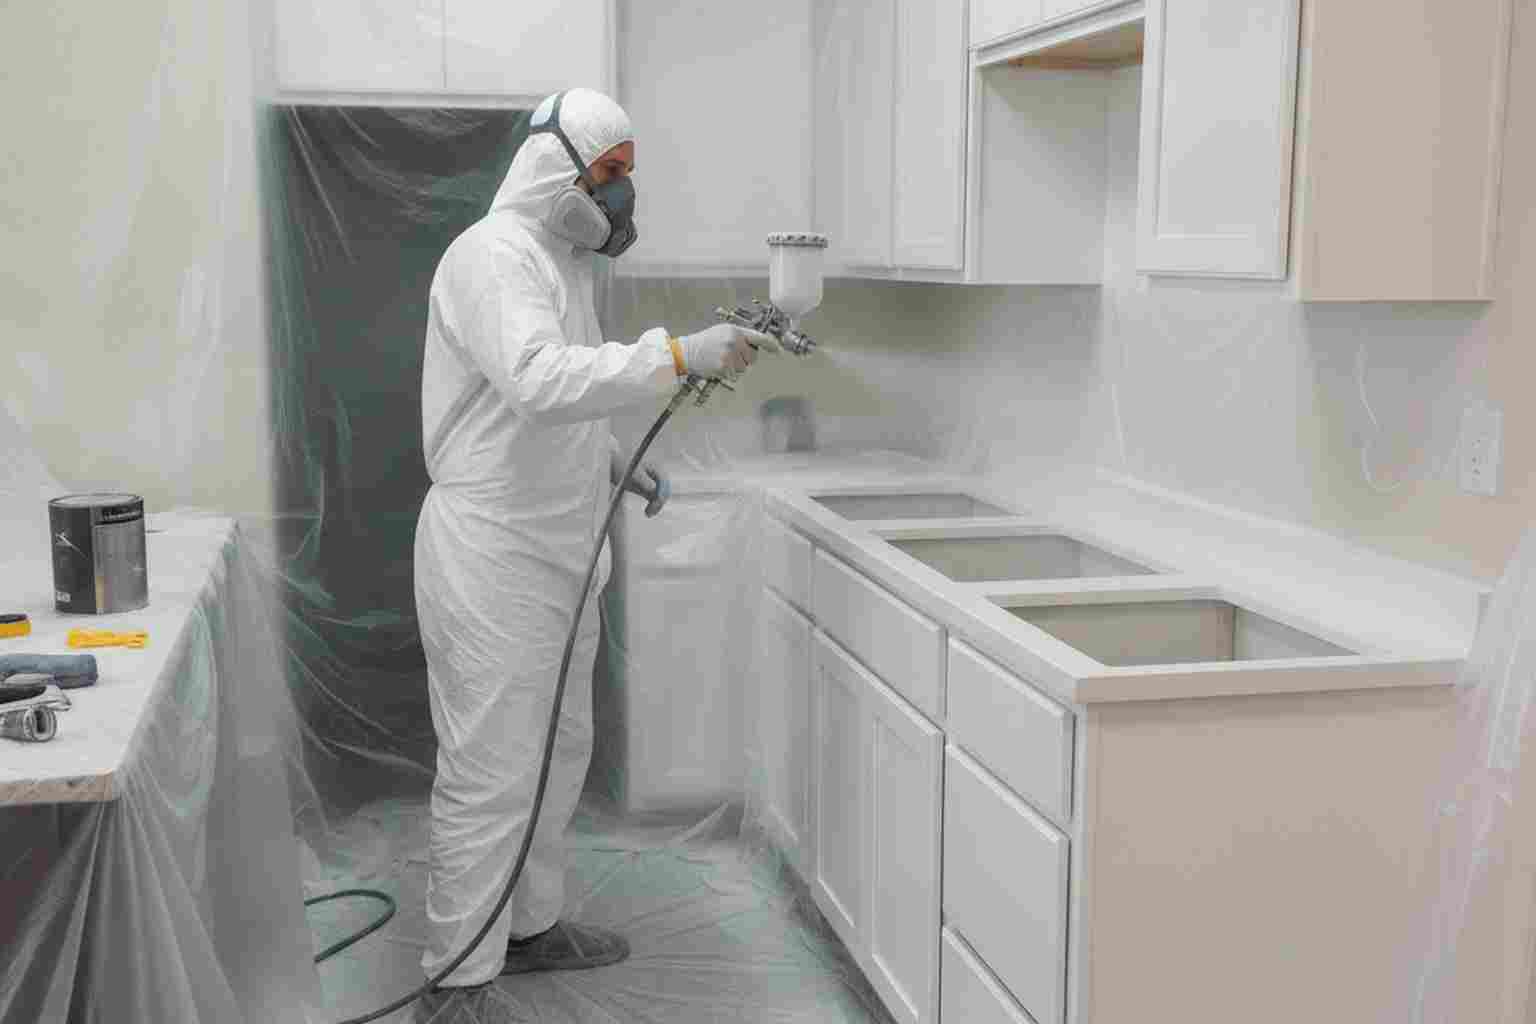
Spray painting delivers the smoothest finish possible. No brush marks, no roller texture, just an even coat of paint. Professional painters use spray techniques on cabinets, doors, and large exterior surfaces.
When to spray:
- Kitchen cabinets for a factory-like finish
- Exterior siding and stucco
- Doors and shutters
- Metal railings and fences
- Large flat surfaces where speed matters
Spray technique fundamentals:
Hold the gun 10 to 12 inches from the surface. Move in steady, horizontal sweeps. Overlap each pass by 50 percent. Keep the gun perpendicular to the surface. Angling causes uneven coverage and overspray. Apply multiple thin coats rather than one heavy coat.
Types of spray equipment:
- Airless sprayers for large exterior projects
- HVLP (high volume low pressure) for cabinets and fine finish work
- HVLP turbine systems for portable, dust-free finishing
- Compressed air sprayers for automotive-grade finishes
Safety and prep for spray painting:
Spray paint travels. Cover everything you do not want painted with plastic sheeting and tape. Wear a respirator rated for paint overspray. Ventilate the area thoroughly. In Florida's humidity, spray painting works best in early morning or late afternoon when moisture levels are lower.
Sponge Painting Techniques: Texture and Dimension
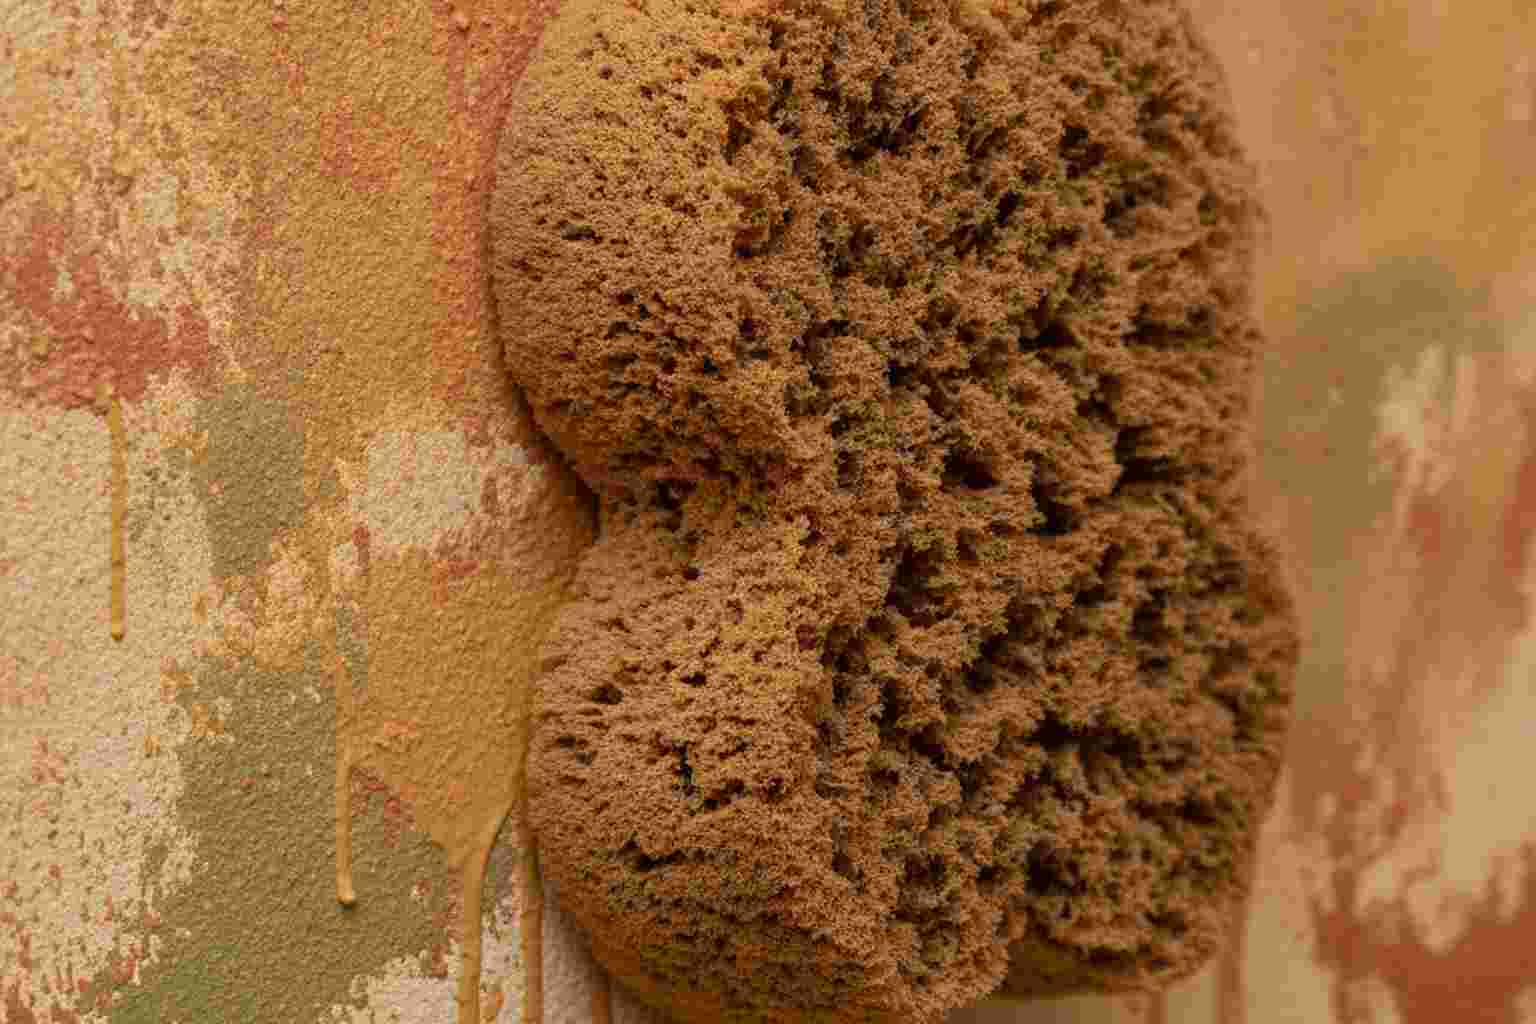
Sponge painting adds texture and depth to walls. This technique uses a natural sea sponge to apply a second color over a base coat, creating a mottled, organic pattern.
Sponge painting steps:
- Apply and dry a base coat in your chosen paint color
- Mix a glaze with a contrasting color (2:1 glaze to paint ratio)
- Dampen a natural sea sponge in water and wring it out
- Dip the sponge lightly in the glaze mix
- Dab off excess on a paper towel
- Press the sponge against the wall with gentle, even pressure
- Work in 4-foot sections, rotating the sponge for varied patterns
- Let each section dry before moving to the next
Sponge technique variations:
- Sponging on: Adding a lighter color over a darker base for depth
- Sponging off: Removing wet glaze with a clean sponge for a subtler effect
- Color washing: Using two or three colors sponged in layers for rich, complex texture
Best rooms for sponge painting:
Powder rooms, dining rooms, and hallways benefit most from textured walls. Avoid sponge painting in bathrooms where moisture can affect the glaze. In Florida homes, choose moisture-resistant paints for the base coat.
Stenciling Techniques: Pattern Without Wallpaper
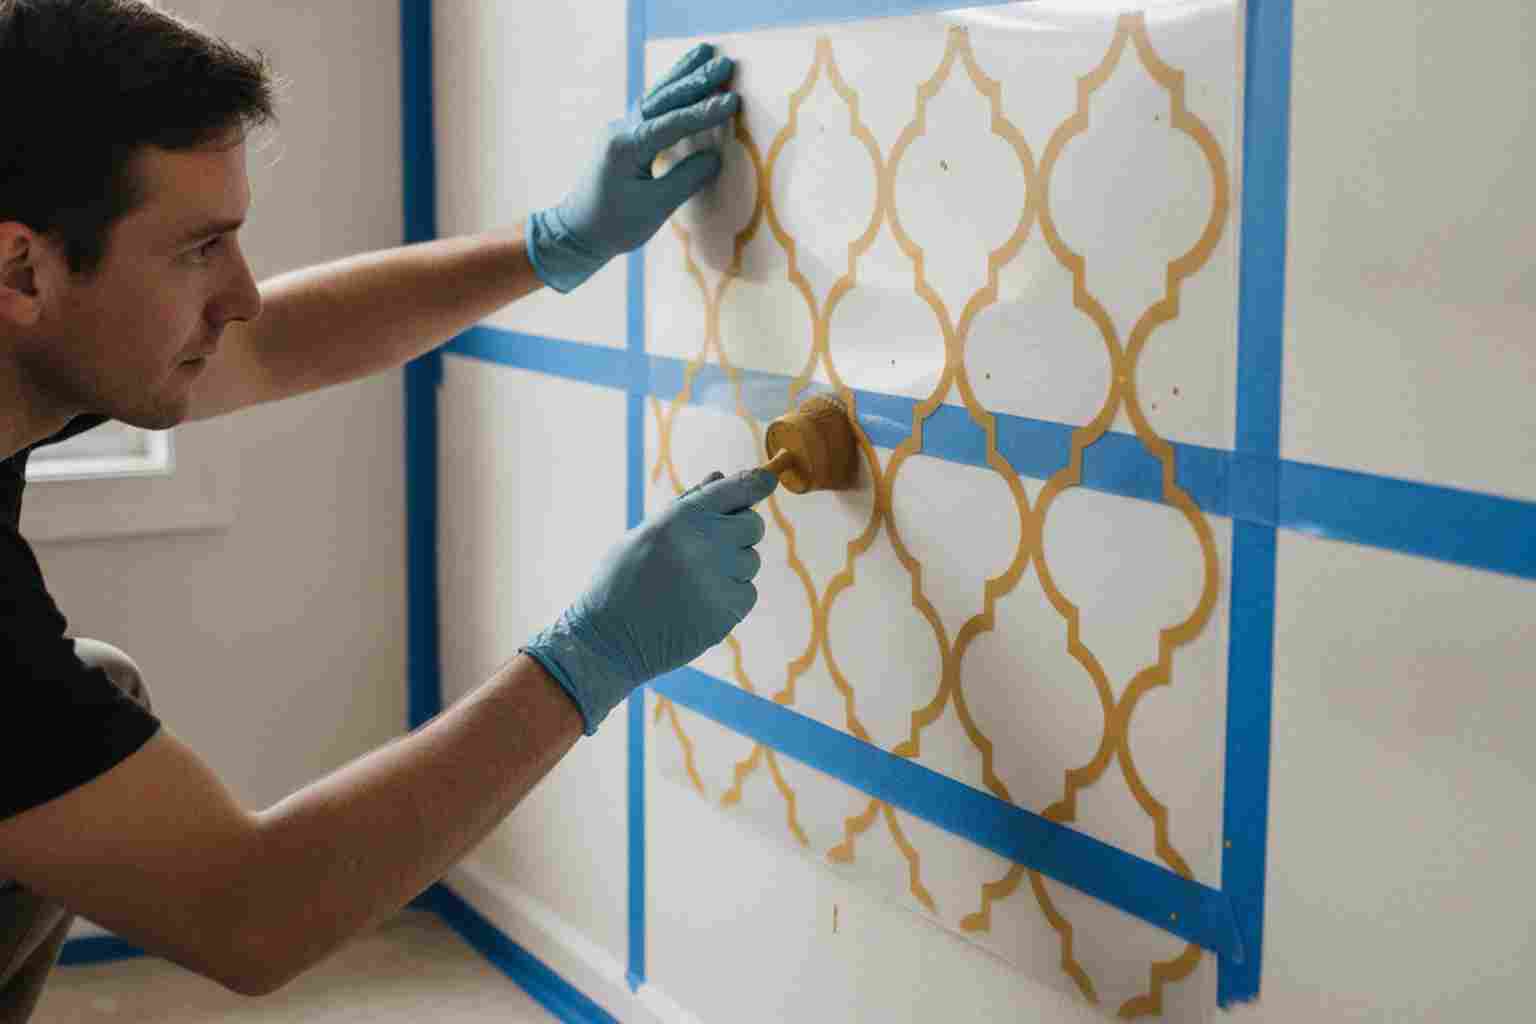
Stenciling lets you add patterns to walls with paint instead of wallpaper. This technique gives you full control over color, scale, and placement.
Stencil painting technique:
- Paint the base coat and let it dry completely
- Position the stencil using a level for alignment
- Secure with low-tack painter's tape
- Load a stencil brush with minimal paint
- Dab off excess on a paper towel until the brush is nearly dry
- Pounce the brush straight up and down on the stencil openings
- Work from the edges toward the center of each opening
- Carefully remove the stencil and reposition
- Align registration marks for seamless continuation
Stenciling pro tips:
The biggest mistake is using too much paint. Paint seeps under the stencil edges and ruins the crisp lines. A nearly dry brush is the secret. Build up color gradually with multiple light applications. Use a stencil brush, not a regular paint brush. The flat, dense bristles of a stencil brush are designed for the pouncing technique.
Stencil pattern ideas:
- Moroccan trellis for global sophistication
- Geometric chevrons for modern energy
- Floral motifs for soft, romantic spaces
- Greek key for classic, timeless design
- Large-scale damask for formal dining rooms
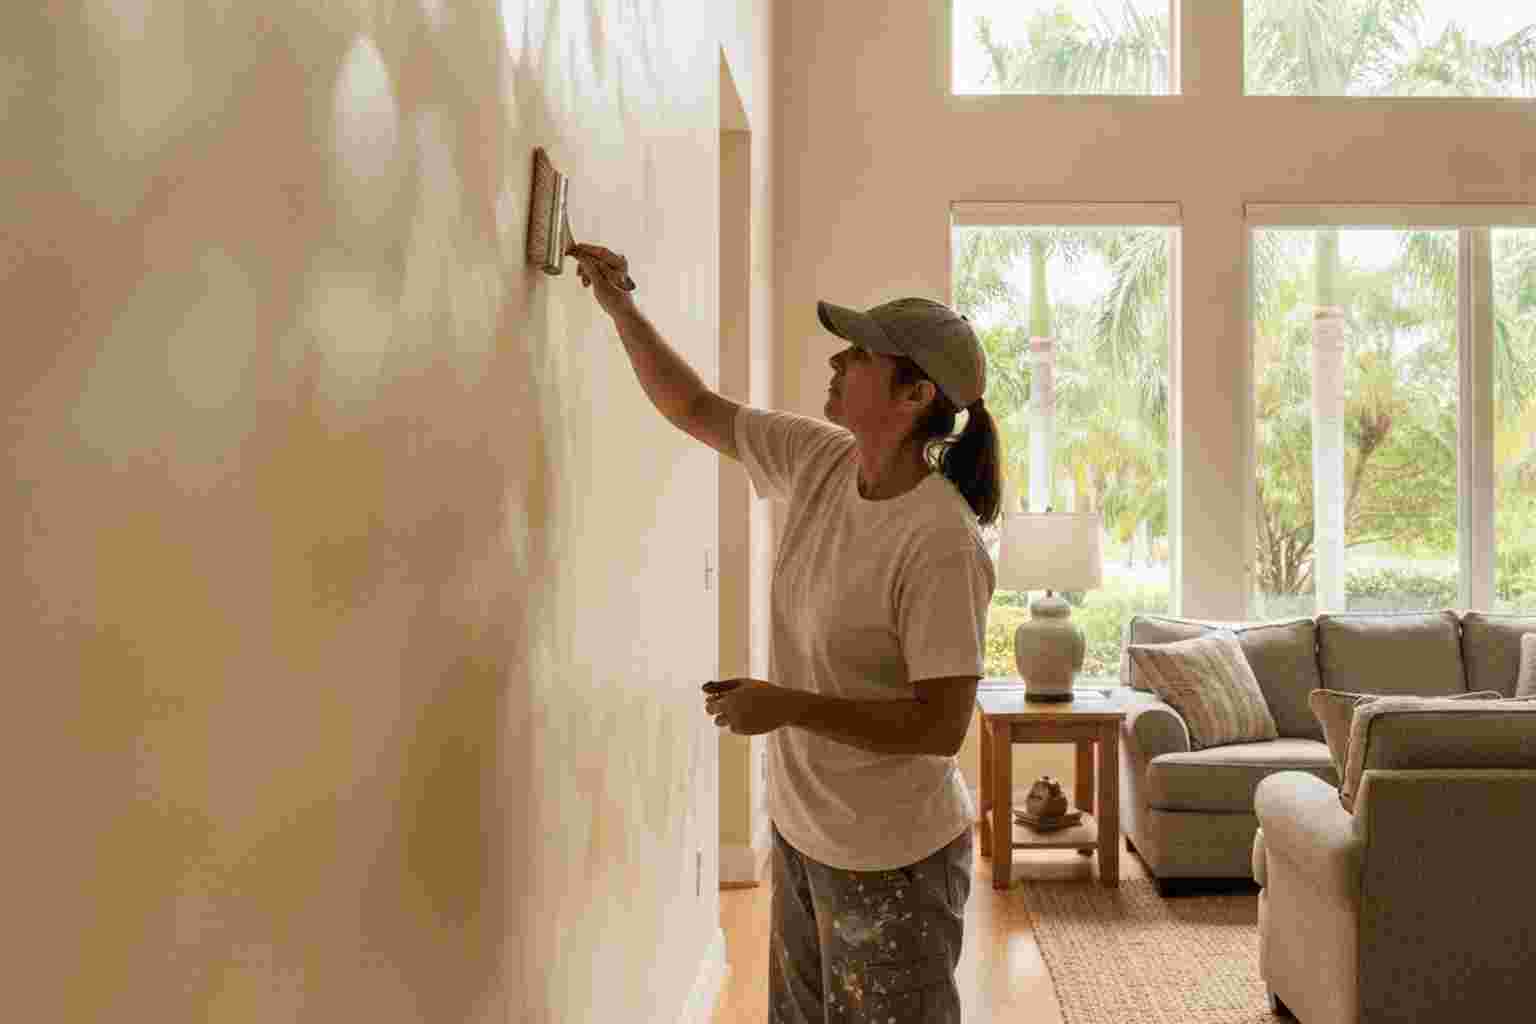
Color Washing and Glazing Techniques
Color washing is a painting technique that creates a soft, layered look on walls. It involves applying a translucent glaze over a base coat using a brush or rag in random directions.
Color wash technique steps:
- Apply a base coat in a solid color and let it dry
- Mix a glaze: 1 part paint, 3 parts glazing liquid
- Apply the glaze with a brush using crisscross strokes
- Work in 3-foot sections to keep the glaze workable
- While still wet, lightly drag a dry brush across the surface
- The dry brush softens and blends the glaze for a subtle texture
- Continue around the room, blending section edges
Glazing techniques for depth:
A glaze is a translucent medium that lets the base color show through. By layering two or three glaze colors, you create rich, complex depth that a single coat of paint cannot achieve. The key is working wet. Glaze dries slower than paint, giving you time to blend and manipulate the finish.
Best colors for color washing:
- Warm cream base with golden glaze for a sun-kissed effect
- Soft blue base with white glaze for a cloudy, airy feel
- Pale green base with deeper sage glaze for natural depth
- White base with gray glaze for a subtle, modern texture
Florida-Specific Painting Techniques
Florida's climate demands special painting techniques. Heat, humidity, UV exposure, and salt air all affect how paint applies and cures.
Heat and humidity adjustments:
In temperatures above 85 degrees, paint dries too fast. Add a paint conditioner like Floetrol to latex paint to extend the wet edge time. Work in the shade or start early in the morning. Never paint a sun-baked wall. The surface temperature can be 20 degrees hotter than the air, causing paint to blister on contact.
Moisture management:
Florida humidity slows drying time between coats. Allow extra drying time, especially during summer. Use moisture-resistant primer in bathrooms, kitchens, and laundry rooms. Check walls for moisture before painting. Paint over damp walls will peel within months.
UV-resistant techniques:
Choose paints with UV inhibitors for exterior work. Light colors reflect sunlight and fade slower than dark colors. Apply two coats of quality exterior paint for maximum UV protection. We use Sherwin-Williams Duration and Behr Marquee for Florida exteriors.
Salt air considerations:
Coastal homes need paint that resists salt spray. Elastomeric coatings provide the best protection for stucco exteriors near the coast. For metal surfaces like railings, use rust-inhibiting primer before painting. Rinse exterior surfaces with fresh water before painting to remove salt residue.
Professional vs DIY Painting Techniques
Many painting techniques look simple but require years of practice to master. Understanding which projects suit DIY work and which need professional skills saves time and money.
DIY-friendly painting techniques:
- Single solid color walls with standard roller work
- Basic accent walls in a single contrasting color
- Simple stenciled patterns with large, easy-to-align stencils
- Two-tone walls with a chair rail as a guide line
- Basic sponge painting in a small room like a powder room
Techniques that need a professional:
- Color washing and glazing (requires wet-edge mastery)
- Spray painting (requires equipment and overspray control)
- Complex geometric patterns with multiple colors
- Cabinet spraying for a factory finish
- Textured techniques across large wall areas
- Any project requiring scaffolding or ladders on stairs
Why professional technique matters:
Our team has spent years perfecting these techniques. We know how paint behaves in Florida's climate. We can read a wall's moisture content, adjust for humidity, and choose the right products for each surface. When a technique goes wrong, we know how to fix it before the client ever sees the problem.
The JPL Painting approach:
We prep every surface thoroughly. We fill, sand, prime, and caulk before applying paint. We use premium paints that hold up in Florida conditions. Our team works efficiently and cleans up completely. Every project ends with a walkthrough to ensure the finish meets our standards and your expectations.
Our process step by step:
- Free estimate and color consultation
- Surface inspection and moisture check
- Wall repair: fill cracks, sand smooth, prime bare spots
- Protect floors, furniture, and fixtures
- Apply primer if needed
- First coat using the right technique for the surface
- Inspect and touch up
- Second coat for full coverage and depth
- Remove tape and masking
- Clean up and final walkthrough with you
We never rush a job. Each step builds on the last. Skipping prep to save time is the most common mistake we see from other painters. The result is paint that looks good for a few months, then starts peeling and cracking. Our work is built to last years in Florida's demanding climate.
Call us at (386) 576-4730 to discuss your next painting project. We serve New Smyrna Beach and all of Volusia County.
How we choose techniques for your project:
Every wall is different. Our team assesses the surface condition, the existing paint, the room's humidity, and the desired finish before recommending techniques. A bathroom with high moisture needs a different approach than a dry living room. A textured stucco wall requires different roller work than a smooth drywall surface. We match the technique to the surface for results that last.
The art behind the work:
Professional painting is part craft, part art. Our painters develop their skills over years of daily practice. They learn to read how paint flows, how it absorbs, and how it cures under different conditions. The best artists in any medium understand their tools and materials deeply. We bring that same understanding to every wall we paint. Whether we are using a brush, roller, spray gun, or sponge, the technique matters as much as the paint itself. Some painters even explore fine art techniques like watercolor or mixed media on canvas to sharpen their control and sensitivity to color. That attention to detail shows up on your walls.
Frequently Asked Questions
The five core painting techniques are brushing, rolling, spraying, sponging, and stenciling. Brushing handles edges, corners, and detail work with precision. Rolling covers large flat surfaces quickly and evenly. Spraying delivers the smoothest finish for cabinets, doors, and exteriors. Sponging adds texture and depth by layering colors with a natural sea sponge. Stenciling creates patterns using a template and dry brush technique. These five techniques cover nearly every residential painting project from accent walls to full home repaints.
The four fundamental painting techniques are brushing, rolling, spraying, and texturing. Brushing provides control for edges and trim. Rolling delivers fast, even coverage on walls and ceilings. Spraying creates a flawless, brush-mark-free finish on smooth surfaces. Texturing includes sponge painting, color washing, and rag rolling to add depth and dimension. Mastering these four techniques gives you the skills to handle any painting project in your home.
Popular paint techniques include cutting in with a brush for clean edges, the W-roll pattern for even wall coverage, sponging on or off for textured finishes, color washing with translucent glaze for layered depth, and stenciling for pattern work without wallpaper. Other techniques include dry brushing for a weathered look, rag rolling for fabric-like texture, and spray painting for smooth finishes on cabinets and doors. Each technique requires specific tools and skills, and some work better in Florida's humid climate than others.
The seven main types of painting are acrylic, oil, watercolor, gouache, encaustic, fresco, and digital painting. In residential painting, the most relevant types are acrylic and latex paints, which are water-based and dry quickly. Oil-based paints are used less frequently in homes due to long drying times and strong odors. Watercolor and gouache are fine art techniques used on canvas or paper. Encaustic uses heated wax mixed with pigment. Fresco involves painting on wet plaster. For Florida homeowners, acrylic and latex wall paints are the standard choices because they resist humidity and clean up with water.